

[ad_1]
While most traditional documentation tasks have been digitised these days, there are still plenty of occasions where you’ll need to actually print something out.
The good news is that you don’t have to boot up your laptop or PC just to print something. Apple has made it extremely easy to print from your iPad.
Note that this method assumes that your printer supports AirPrint, which was developed specifically in response to the arrival of the iPad as a way of printing things off without the need to install printer-specific drivers.
Check that your printer is on this list before proceeding. Assuming it is, here’s how to print from your iPad.
What we used
- We used the iPad Pro (2018) and a Canon MG5350 printer, but these methods will work on any iPad and any AirPrint-compatible printer.
The Short Version
- Prepare printer
- Open document
- Share or More
- Select printer
- Set parameters and Print
-
Step
1Prepare printer
Make sure your printer is turned on, sufficiently filled with paper and ink, and connected to the same Wi-Fi network as your iPad.
-
Step
2Open document
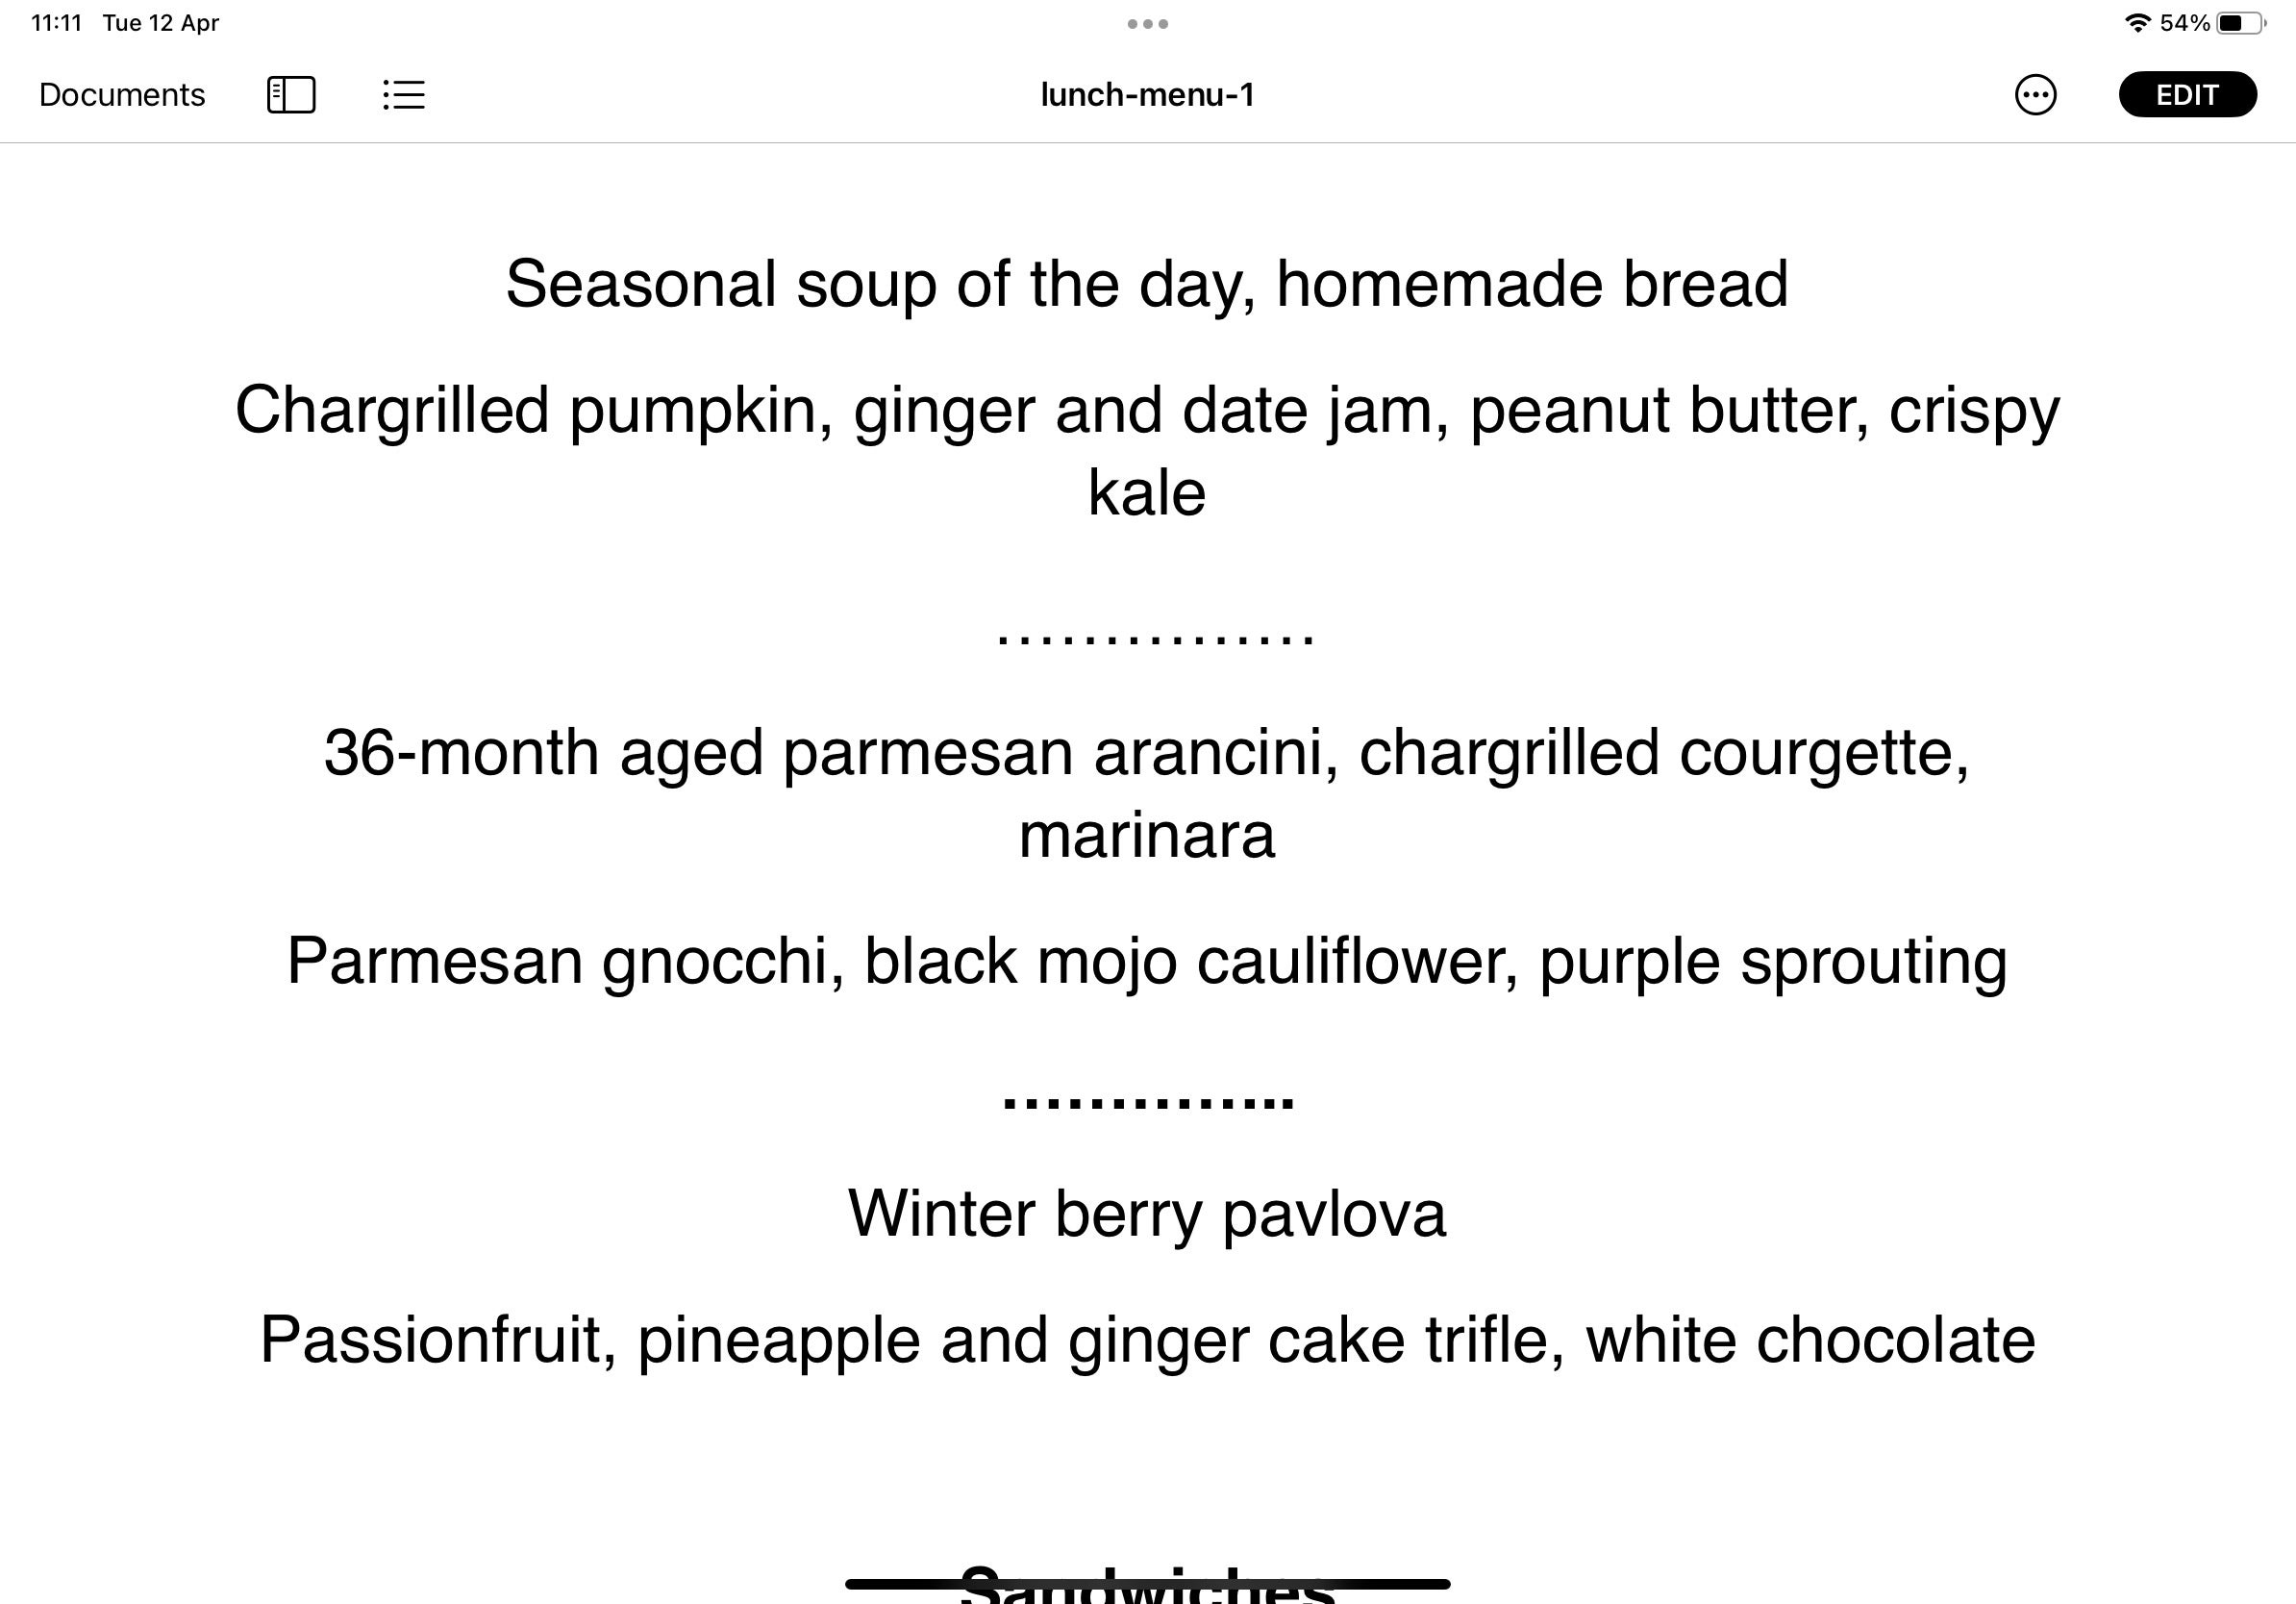
Open the document or image you wish to print, in whatever application that may be.
-
Step
3Share or More

Tap the Share or More (…) button on your iPad. These can usually be found at the top of the screen. Tap Print.
-
Step
4Select printer
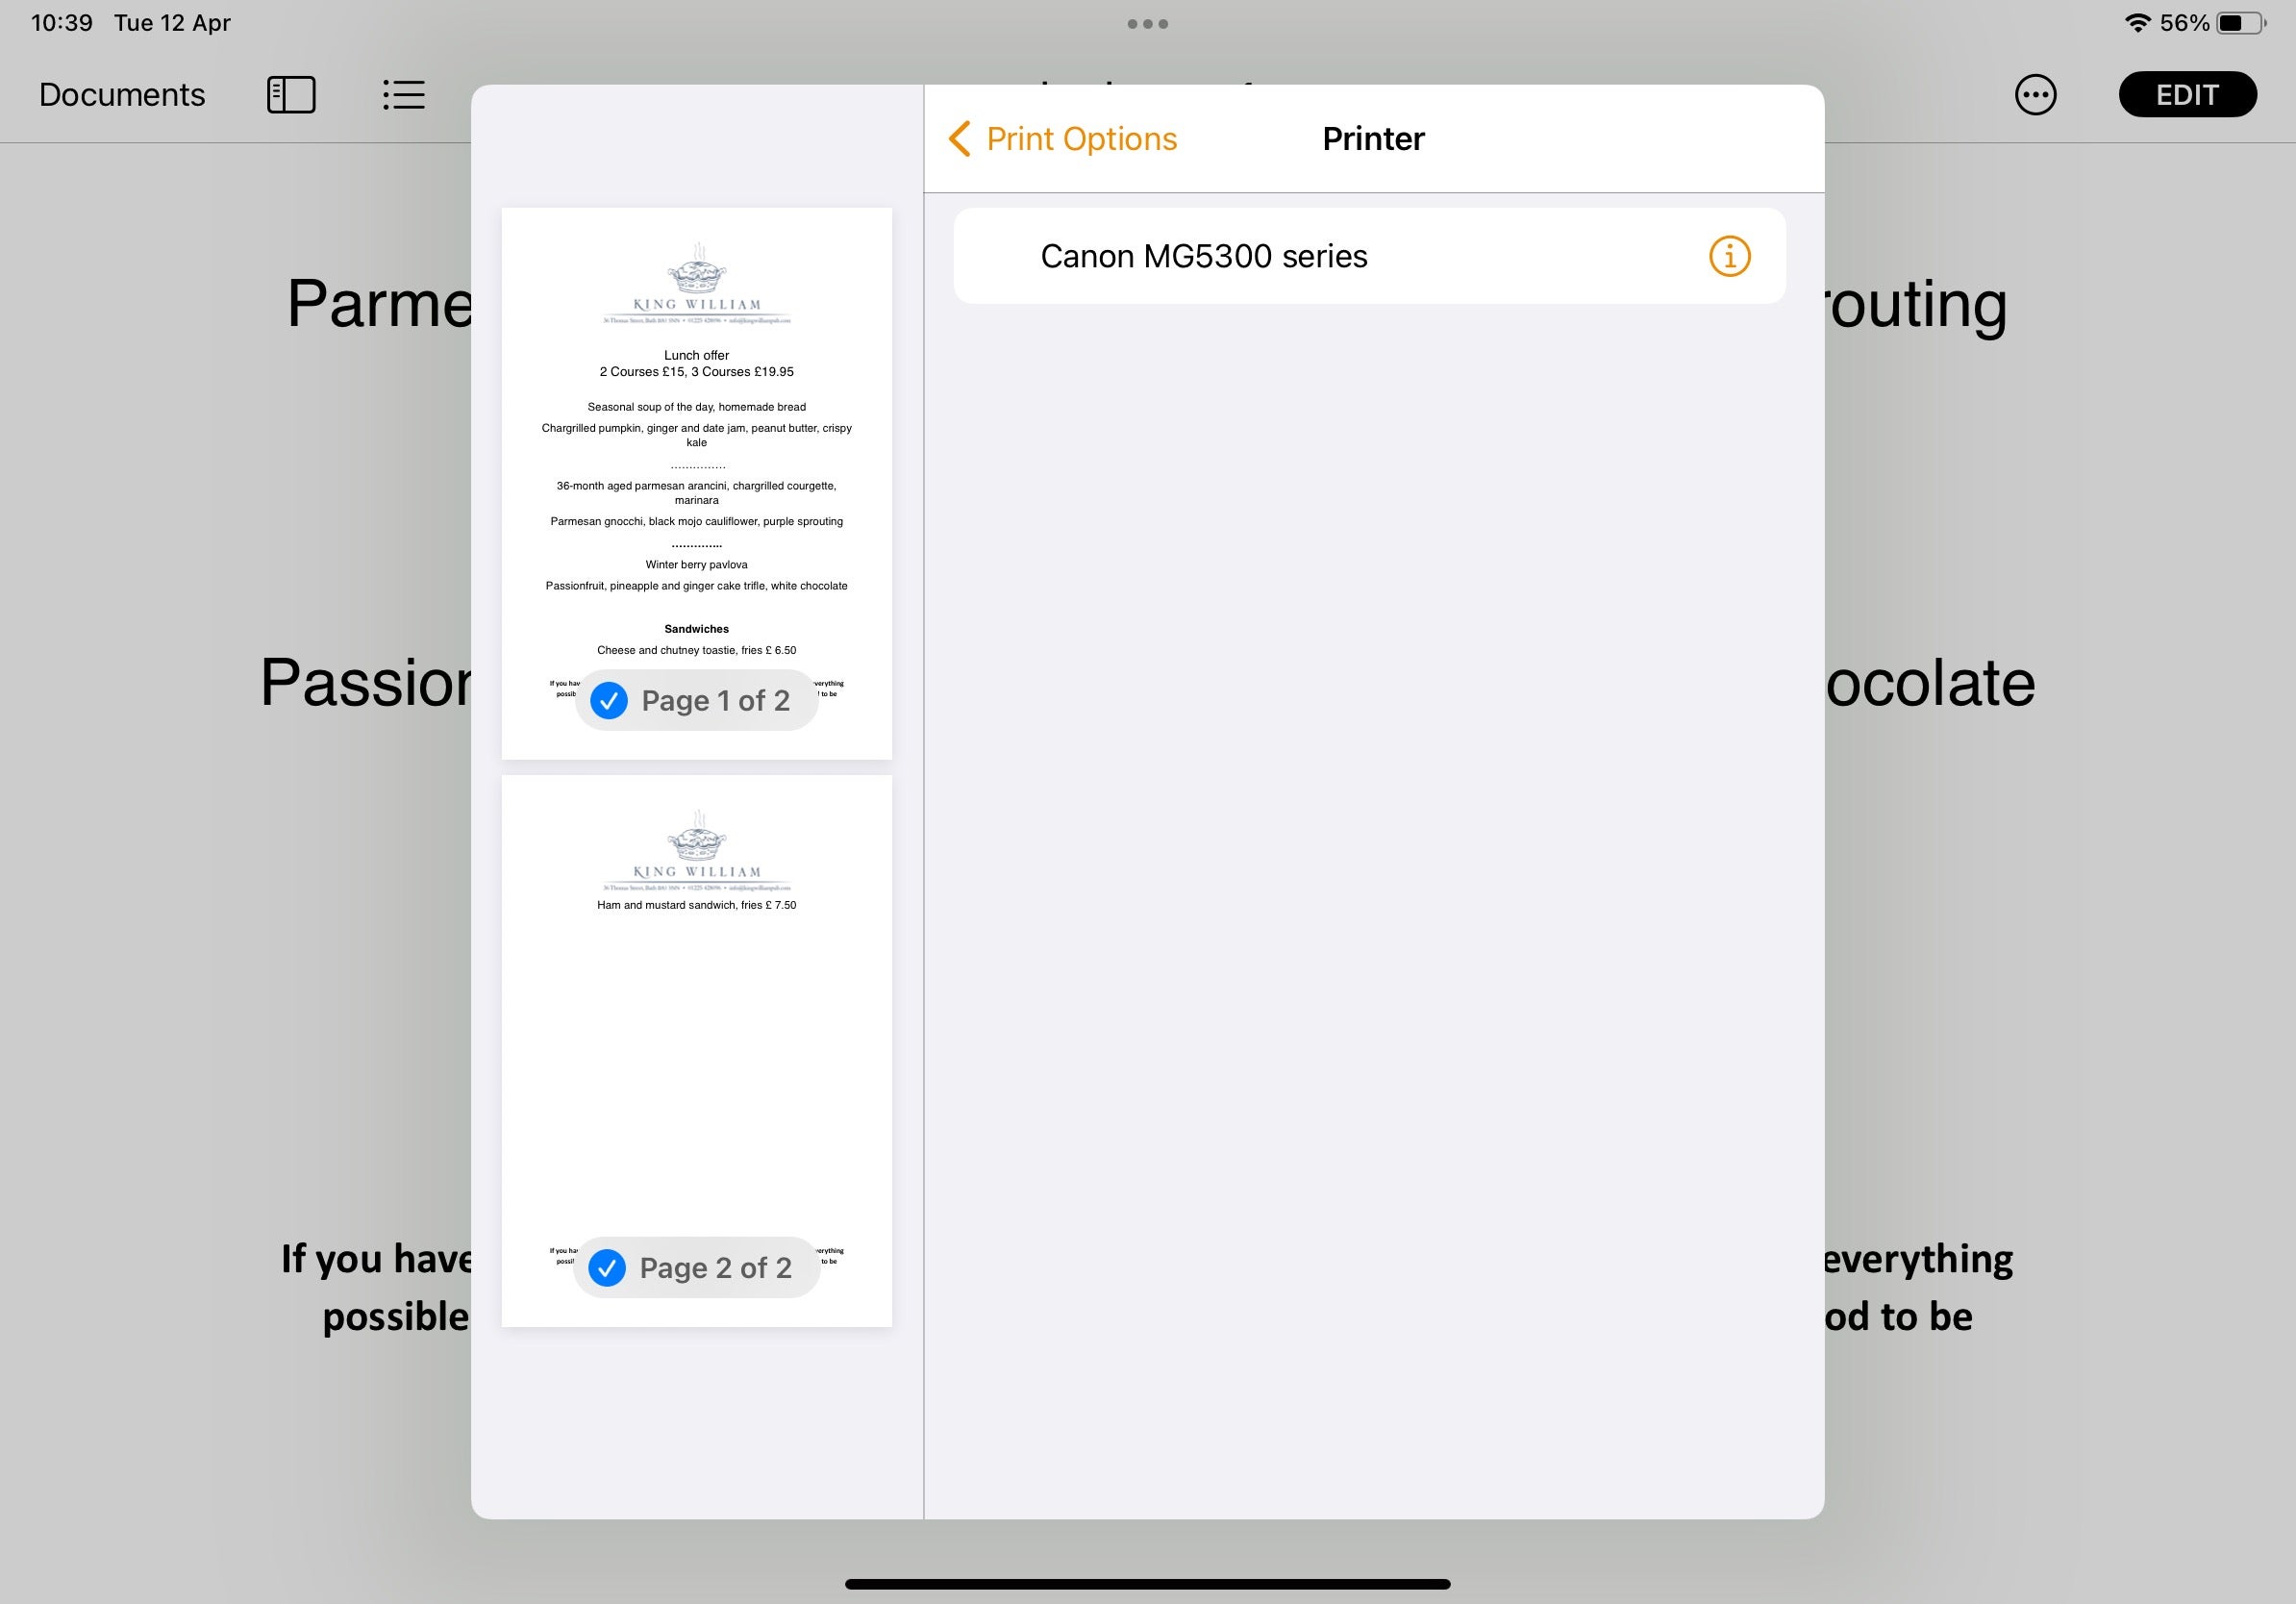
In the following Print Options screen, if your printer is not listed in the Printer section, tap on No Printer Selected and select your printer from the list.
-
Step
5Set parameters and print
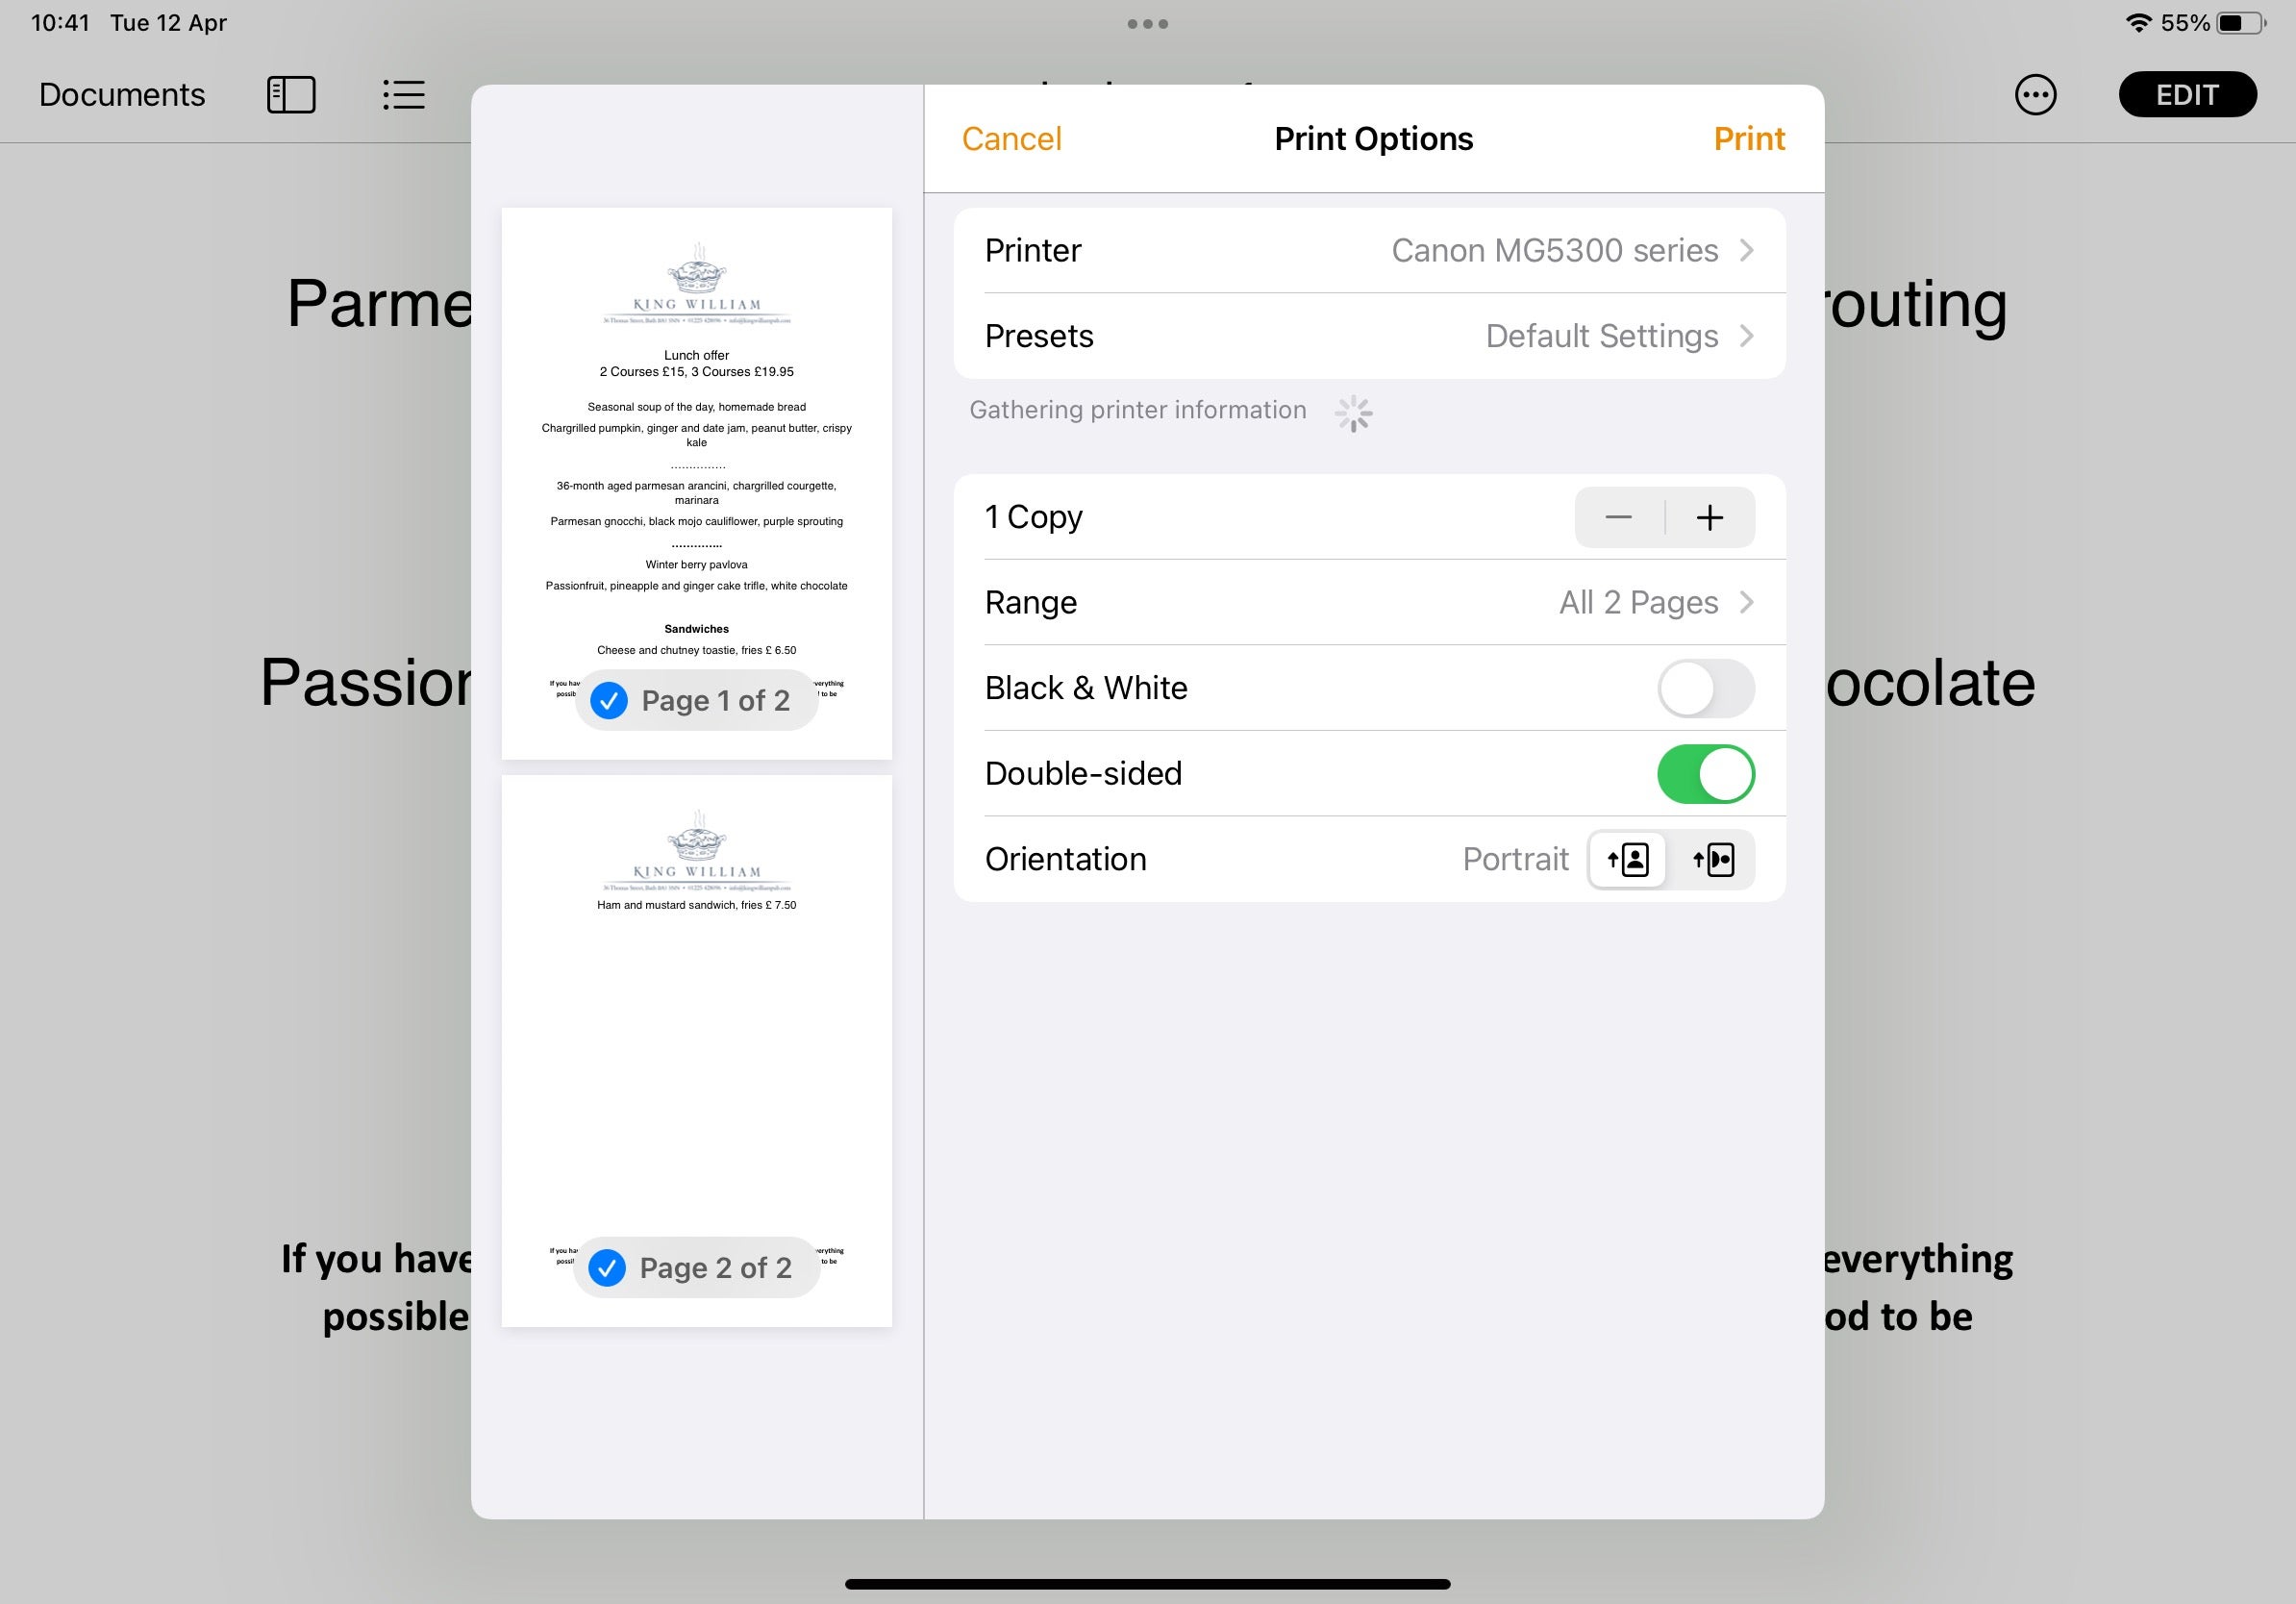
Now select how many copies, which pages you wish to print and the like from the Printer Options screen. When ready, press Print.
FAQs
Check and see if your printer manufacturer (Canon, HP, Epson etc.) has its own iOS app on the App Store. This will let you print directly from the app.
Try and open the file in a different app that does feature a Print option. All of Apple’s preinstalled apps should let you do this.
[ad_2]
Source link


